Home
Menu
Menu
Home About Contact

Obsessed with a color?

Let’s make it yours.

Your color, your way — explore vibrant tones, silky finishes, and long-lasting impact.
Painter

Start with an Idea.

DRIVE OFF WITH THE FINISH.

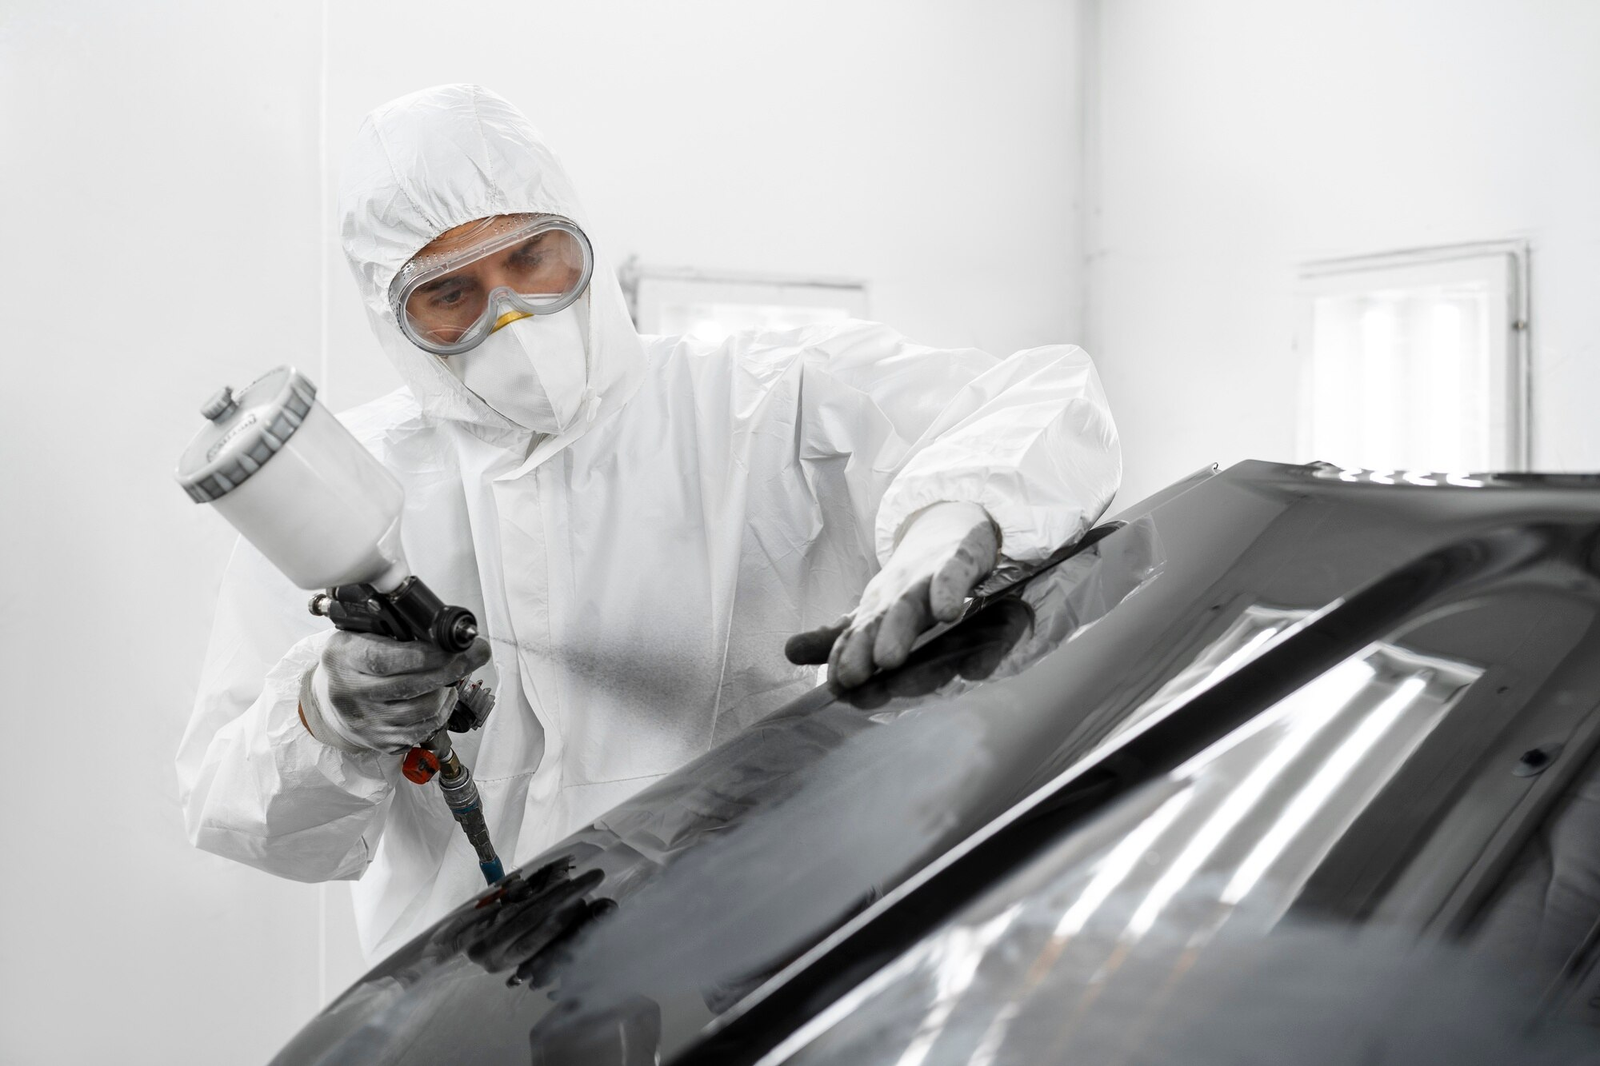
Our range of solvent–based paint, putty, and primer is specially formulated to deliver exceptional durability, adhesion, and surface protection across a variety of applications. The solvent–based paint provides a tough, glossy finish that resists weathering, moisture, and abrasion, making it ideal for both interior and exterior surfaces such as metal, wood, and concrete. To ensure a flawless base, our solvent–based putty effectively fills cracks, dents, and surface imperfections, creating a smooth and even foundation for painting. Complementing this system, the solvent–based primer penetrates deeply into the substrate, sealing porous surfaces and enhancing the adhesion and longevity of the topcoat. Together, these products offer a complete, high-performance solution for professional-grade surface preparation and finishing.

Your Perfect Paint is Just
a Click Away

Whether it’s for your walls or your wheels, start your project with confidence.

Pick your paint.

Color Swatches

Choose the color, sheen and brand. We can help you along the way.

Place your order.

Paint Can

Order by 8 a.m. for free same-day delivery in select ZIP codes or pickup from a store. Terms apply.*

Olfarbe color guarantee.

Olfarbe Logo

Love your color — or bring it back within 7 days for a hassle-free replacement. Terms & apply.*

Smooth. Strong. Stunning.

The Craft Behind Flawless Auto Refinish Paint Application
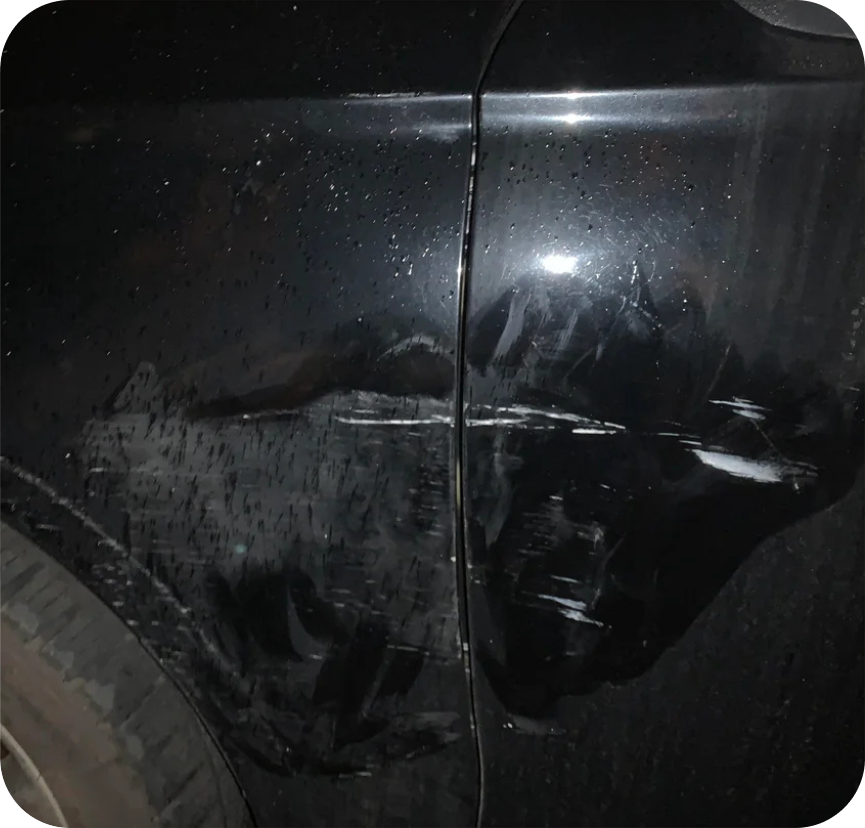
Step 1 - for Repair : Surface Evaluation & Preparation
Visual Inspection
Visual Inspection
Identify dents, rust, scratches, paint defects, and previous repairs
Cleaning
Cleaning
Clean the repair area and remove all loose paint particles or rust.
Feathering
Feathering
Key feather edges with 180–320 grit to prevent solvent penetration and swelling.
Sanding
Sanding
Sand entire panels with 400–600 grit. Use sanding blocks or DA sanders for uniform abrasion.
Rust Treatment
Rust Treatment
Remove rust; apply rust-inhibiting primer if required.
Apply Body Filler
Apply Body Filler
Apply body filler, let cure, sand smooth, and re-clean as needed.
Final Sanding
Final Sanding
Finish with 400–600 grit, clean with panel wipe and degreaser, then mask as needed.
Step 1 - for Repair : Surface Evaluation & Preparation
Visual Inspection
Visual Inspection
Identify dents, rust, scratches, paint defects, and previous repairs
Cleaning
Cleaning
Clean the repair area and remove all loose paint particles or rust.
Feathering
Feathering
Key feather edges with 180–320 grit to prevent solvent penetration and swelling.
Step 2 : Primming & Painting
Choice of Primer
Use an appropriate primer depending on the surface and repair needs

1

Apply Primer
Apply n 2-3 even coats, allowing proper flash time between each.

2

Sand & Smooth
Let the Primer fully cure, then wet sand with 600-800 grit to create a smooth base.

3

Basecoat Application
Apply 2 light to medium coats using a cross-coat method.

4

Clean Coat Application
Apply 2-3 wet coats with 10-15 minutes flash time. Ensure clean, dust-free spray booth conditions.

5

Polishing & Detailing
Once fully cured (typically 48 hours), Wet sand with 1500-3000 grit to remove imperfections or orange peel.

6

Final Inspection
Inspect under proper lighting, then reassemble carefully, ensuring no defects or overspray.

7

Home